
End panels, infill panels and corner posts
How to measure your doors and drawer fronts
The most common mistakes people make when replacing their kitchen doors
End panels, infill panels and corner posts
How to measure cornice, pelmet and plinth
How to measure sloping doors
How to avoid problems with drawer fronts in tight corners
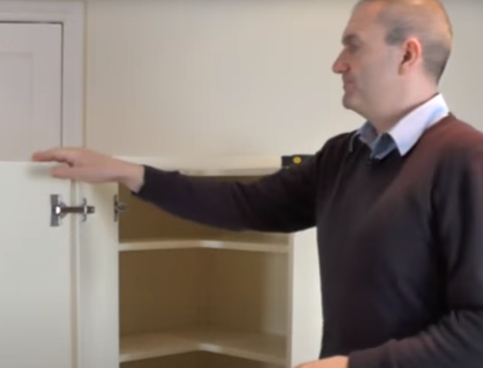
How to replace L shape corner cupboard doors
End display shelf units
How to clean kitchen doors
How to fit kitchen doors

How to replace a dishwasher door
How to fit heat deflectors
How to glaze an open framed door
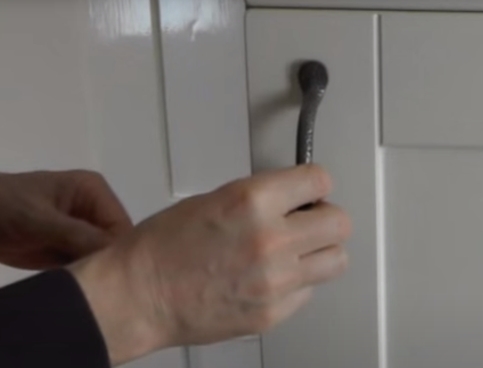
How to fit door handles
How to adjust kitchen door hinges
How to fit new hinges
How to fit plywood drawer boxes
How to fit soft close drawer boxes
How To Change The Colour Of The Ends Of Your Units
If you want to change the colour at the end of your units you have got two options
- You can apply a panel which is a great option if you want to add some additional thickness to the side of the unit.
- However, if adding thickness to the side of a cabinet is going to be an issue for, example on the sides of the unit over a hob where the extractor is, you may not have the space to accommodate the extra thickness of a panel, then self-adhesive vinyl maybe a good option for you.
What Are Panels Made From?
Panels are made from the same material as our doors so they are an exact colour match. The back of the panel is made from the same material as the back of our doors so that’s the same colour as well. Our panels are finished on all edges.
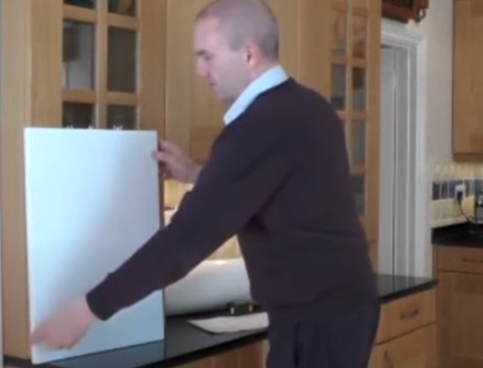
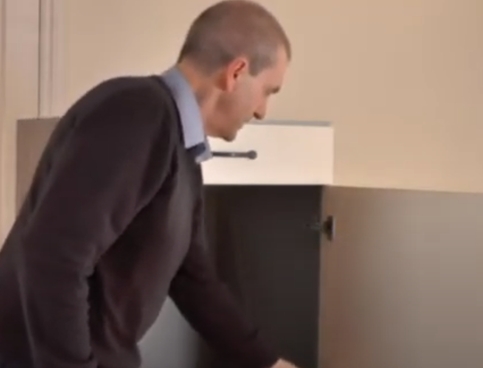
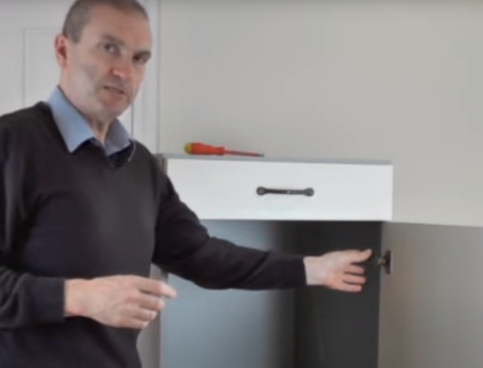
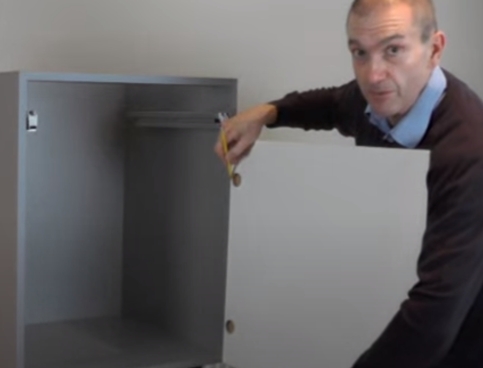
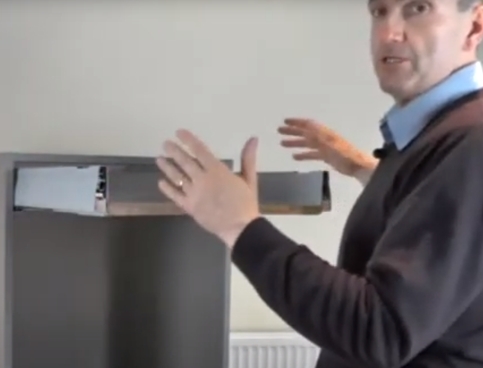
How To Fix Panels
When applying a panel to the end of a unit the normal method of fixing it is to apply some panel adhesive to it and then to screw through the inside of the unit into the panel to hold it into place.
Different Types of Panels
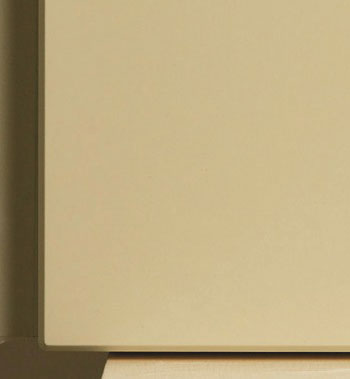
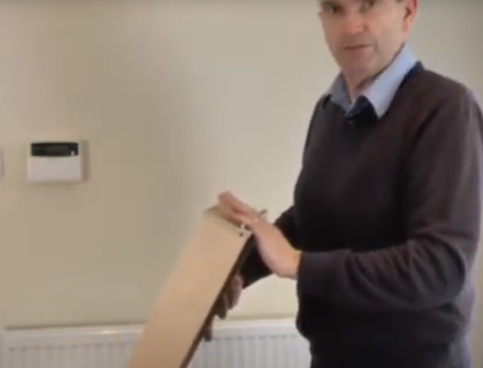
Plain Panel
1. A plain panel has square edges all the way round.
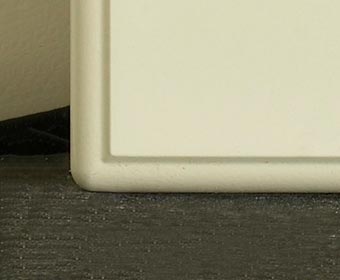
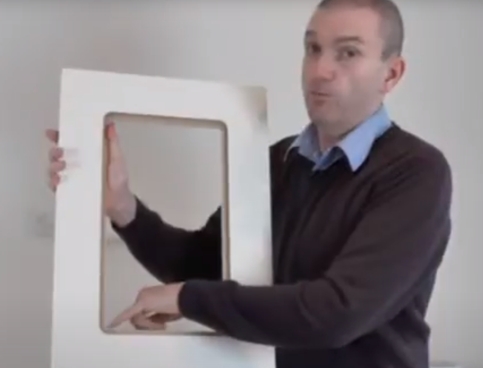
Profiled Panel
2. A profiled panel has the edges of the panel finished with the same profile as the edge of your doors. This type of panel doesn’t have a pattern in the centre. It isn’t a door, so if you want a panel that has a pattern in the centre then you need to order a door rather than a panel. A panel comes with a flat centre but a Profiled Panel will have the outside edge shaped to match your doors.
When ordering a Profile Panel our standard specification is that the panel will be profiled on all four edges but, however if you only want some of the edges to be profiled, simply mention this on your quotation request
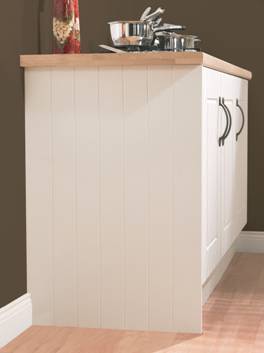
Tongue and Grove Panel
3. The third type of panel that we manufacture is a Tongue and Grove Panel. A Tongue and Grove Panel is profiled on the outside edges to match the door style that you are ordering and then it has the tongue and grove lines cut into it.
Please refer to our price list to see which panel options are available in the door range that you are considering.
Self-Adhesive Vinyl
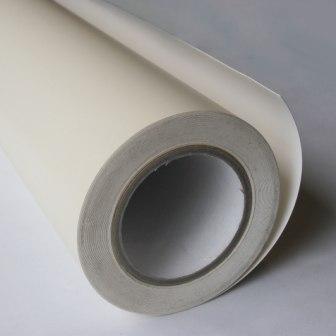
Self-adhesive vinyl is the same material that the door is made out of. It’s the actual surface material of the door which has a self-adhesive backing applied to it. Simply remove film on the back and stick it on to the side of your units.
A couple of things you need to bear in mind. Firstly, it’s cut to order off a very long roll, so if you want ten meters of it or 5 meters you will get that 5 or 10 meters in one piece, you don’t get lots of separate one meter pieces.
Self-adhesive vinyl is 620mm wide and can be cut down to size, but should not be butted together like wallpaper - so for applications wider than 620mm we suggest using a panel, or non adhesive vinyl.
Before applying to the unit we always suggest spending a little bit of time cleaning the end of the existing unit with a de-greasing cleaner. Then lightly sand the end of the unit just to give the adhesive a good key. Cut the vinyl slightly bigger than you need it. Once it’s been applied to the end of the unit simply trim from the back of the unit through to the vinyl. Then trim to size. We suggest holding a little bit of timber along the edge (behind the vinyl) to give you something to cut into. Once you have trimmed it to size, finish off any rough edges with sandpaper give you a nice smooth finish.
Non-Adhesive Vinyl
If the colour that you have chosen for your door is not available as a self-adhesive vinyl we also offer non-adhesive vinyl. It is 1400mm wide and again it comes on a great big roll and we just cut off what you need.
The only difference with the non-adhesive Vinyl is that it doesn’t come with the self-adhesive backing and so check with your local DIY shop what they would recommend for sticking vinyl onto Melamine (the most common cabinet material). Kitchen Door Workshop don’t specifically recommend one brand of glue for doing this as types of glue change so frequently and they are always new adhesives coming on to the market.
Infill Panels
Infill panels are those little strips that you fit between the wall units or a base unit and a wall if there is a gap there. You have a number of different options for finishing those to match your doors;
- Applying a small piece of self-adhesive vinyl, i.e. covering the panel that you have.
- You could look at is ordering a replacement panel made to measure in the size that you need which is fine - you just need to bear in mind that we can only make panels so small and if the panel that you are looking for is too small then we may not be able to make it to the size that you want.
- The third option is to create an infill panel using an off-cut of plinth. Plinth is the skirting board that runs round your base units and if you are replacing your plinth then order a little bit extra and just cut that to size and just slot it into place.
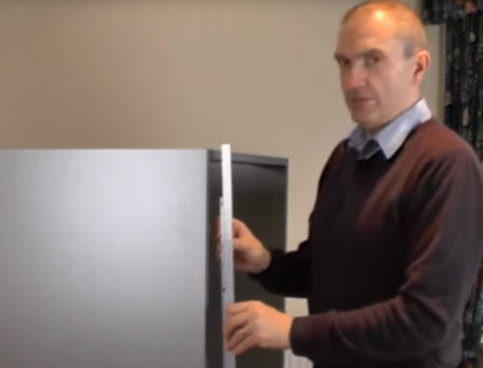
Corner Posts
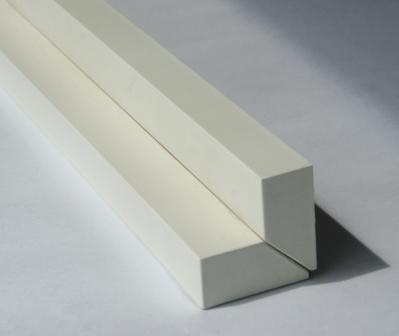
Kitchen Door Workshop sell corner posts in many finishes. They are available 720mm long and come in two different widths (measured on the back of the corner post) 30mm by 30mm and 40mm by 40mm
If you need a different size corner post you have a couple of different options;
- Try applying the self-adhesive vinyl to your existing corner post.
- My preferred method is to actually use an off-cut of plinth and create an ‘L-shape’ by screwing it at the back. This will allow you to create your own corner post literally any size that you like.
Edging Tape
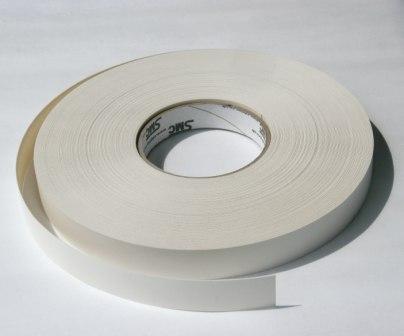
We often gets asked "Is it worth re-edging all of my units?". In simple terms you can, but it is very time consuming.
To apply it we suggest doing this with the door off the unit. The tape has glue on the back of it which is activated by heat, so its iron-on.
We suggest testing to see which iron setting works best for you, also we suggest to use a piece of paper to cover over the edging strip just to protect it while ironing.
Once you have ironed the tape on and let it cool, trim to the desired width and sand down any rough edges.
Because of the time and effort involved, this is something that I would use sparingly maybe only where it is very visible where you can see the edge of the unit.
In a situation where you have two doors meeting and you have a shadow there, personally, I wouldn’t edge that I would just leave that as it is because you are not really going to see it but if for whatever reason there is something that is very visible then the iron on edging is available in many colours you - just need to check it is available in the door colour that you are looking for.