
How to fit plywood drawer boxes
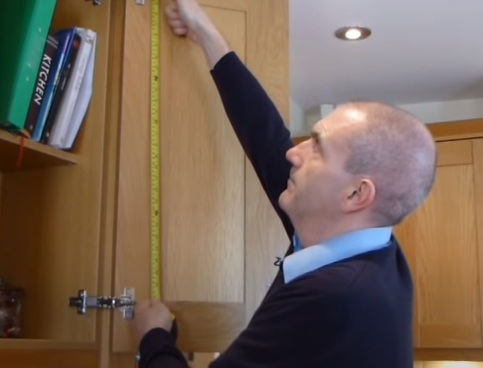
How to measure your doors and drawer fronts

The most common mistakes people make when replacing their kitchen doors
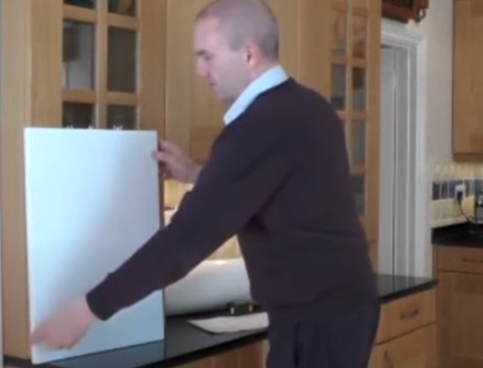
End panels, infill panels and corner posts

How to measure cornice, pelmet and plinth

How to measure sloping doors
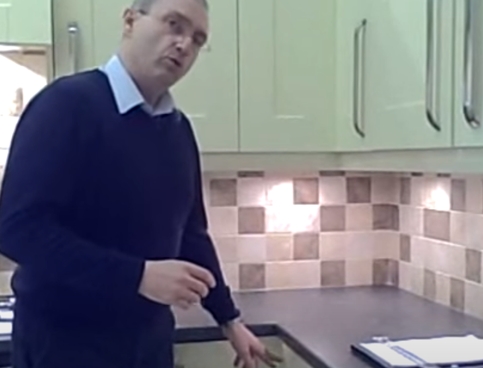
How to avoid problems with drawer fronts in tight corners
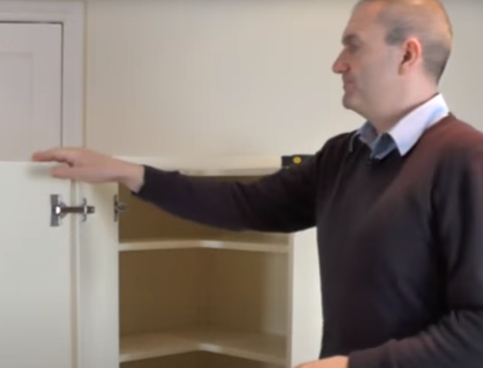
How to replace L shape corner cupboard doors

End display shelf units

How to clean kitchen doors
How to fit kitchen doors

How to replace a dishwasher door
How to fit heat deflectors
How to glaze an open framed door
How to fit door handles
How to adjust kitchen door hinges
How to fit new hinges
How to fit plywood drawer boxes
How to fit soft close drawer boxes
How To Choose The Right Size Drawer Box

Customers often ask us "how do I know which height of drawer box to use with my drawer fronts". Plywood drawer boxes come in two heights 100mm and 140mm high. The 100mm high drawer boxes will work with drawer fronts up to 283 mm high. Kitchen Door Workshop would only recommend using the 140mm high drawer boxes where your drawer front is 283mm high or above.
How To Assemble The Drawer Boxes
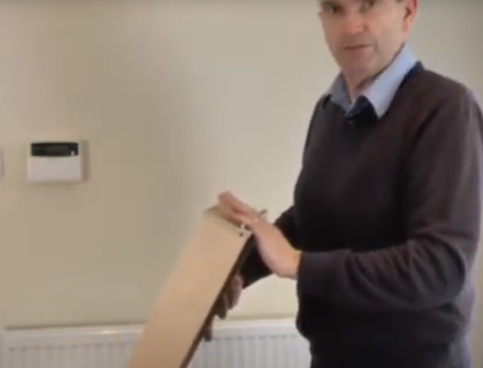
The drawer box comes packed as four sides and a base panel. In the sides, front and back there is a grove that will take the base panel. As you put the drawer box together you need to make sure that the grove lines up on every piece. Use a little wood glue on the dowels and in each of the dowel holes, then slide the base panel into place and attach the final piece.
We often get asked "how can I tell which is the side of the drawer box and which is the front or back of the drawer box?" It’s actually quite easy to tell. On the side of the drawer box you don’t see any exposed plywood, but on the front of the drawer box and on the back of the drawer box you will be able to see the exposed plywood ends. These will be covered by the drawer front which and will not be seen in normal use.
Fitting the Runners
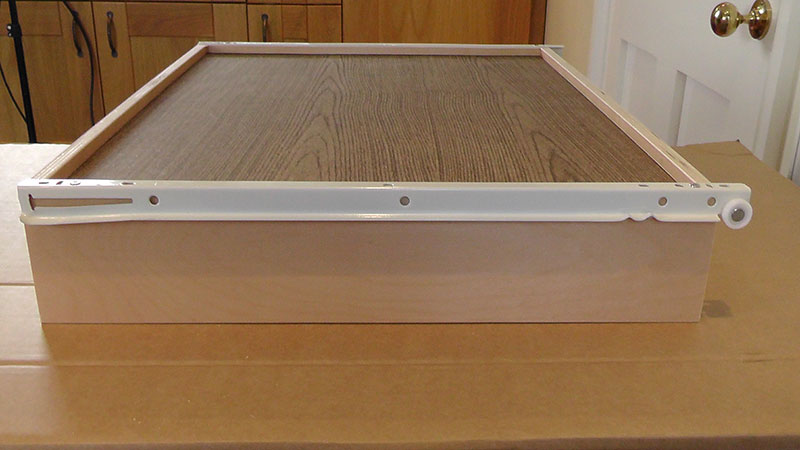
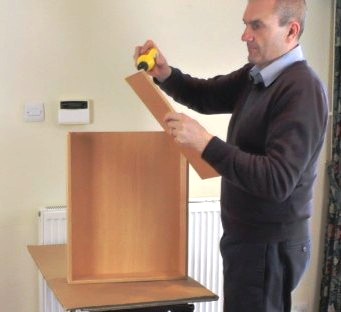
To attach the runners, sit the runner on the top of the drawer box aligning the front of the runner with the front of the drawer box. The back of the runner extends past the back of the drawer box and the wheel should be at the back. Then mark two holes and drill two pilot holes. Attach the runner with a couple of screws.
Kitchen Door Workshop sell 3 1⁄2 mm diameter by 15mm long countersunk wood screws on our website, these are the same ones that you use with the to attach the runners to the cabinet.
Once you have attached the runners to both sides of the drawer box, the drawer box is ready for installation into the cabinet.
Tip - Adjusting The Size Of A Plywood Drawer Box
Plywood drawer boxes can be reduced in width simply by cutting the base, back and front panel and fixing the drawer box together with screws. Its not possible to reduce the depth (front to back) of a drawer box because of the metal drawer runners.
When calculating how much to cut the drawer box down by, simply measure the outside width of the cabinet, and deduct this amount from the width of the cabinet that the drawer box is designed to fit into. Example, if your cabinet is 530mm wide and the drawer box is designed to fit a 600mm wide cabinet - reduce the drawer box by 70mm.
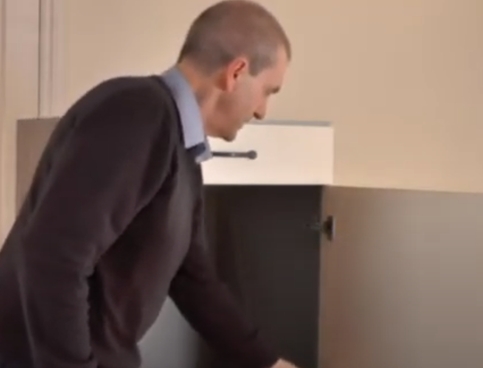
Fitting The Drawer Box Into The Cabinet
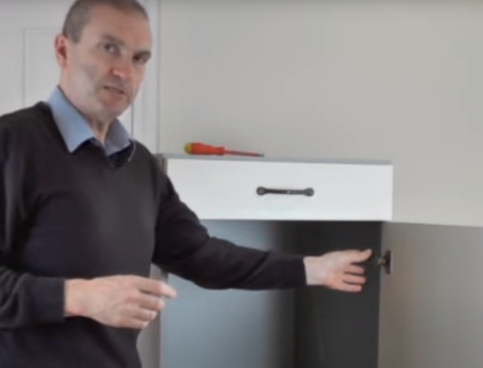
To help decide where you are going to fit the drawer box and drawer runners, mark the position of the top and bottom of the drawer front on the front edge of cabinet. The drawer runner needs to be mounted higher up the cabinet than the bottom of the drawer front.
A pair of drawer runners are usually marked left and right just by the wheel. If you have some drawer runners that don’t have the left and right markings on them the way to tell them apart is that the wheel is at the front of the runner and always at the bottom of the runner. At the back, the runner tips downwards, so it’s possible to work out that that one sits on the left hand side because the back tips down and the wheel is at the front.
Position the bottom of the drawer runner so it is above where the bottom of the drawer font will be. Draw a line on the cabinet roughly half way up the face of the drawer runner, the line tells you where the line of fixing screws are going to go, as the fixing screws are cantered along the length of the drawer runner.
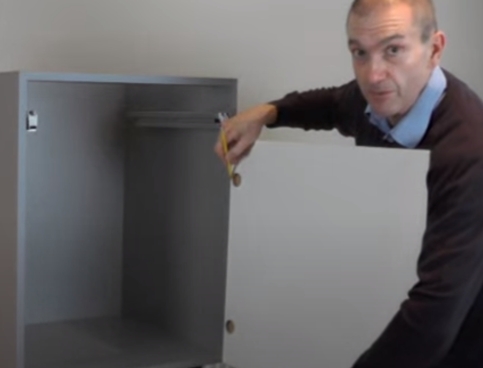
Take away the drawer runner and measure down from the top of the cabinet to where the line of fixing screws will need to be, then using a spirit level, draw a straight line from the front to the back of the cabinet.
Offer the runner back up to a position where you can see the lines through the screw holes along the length of the runner. Position the front of the drawer runner against the front edge of the cabinet and mark at least three of the fixing holes - checking beforehand which holes work best with the fixing screws you are using.
Kitchen Door Workshop supplies fixing screws on our website which will fit into the smaller of the holes that you see on the runner. However, if you want to use your own fixing screws for this then that’s not a problem, you just need to make sure that they don’t sit too proud of the runner as that will clash with the wheel on the runner and stop the drawer from sliding. The screws that we use for this are a 31⁄2mm diameter screw and the length of them is 15mm.
Tip - Drilling Pilot Holes
To help ensure that you always drill pilot holes the correct depth, simply hold the screws you plan to use against your drill bit and mark the length of the hole required, using a piece of making tape.
Tip - Play It Safe
Always wear eye protection when drilling and use any other safety equipment that maybe appropriate.
Check The Thickness Of Your Cabinet Sides
Check the thickness of your cabinet sides that you are fixing the runners to. If they are 15mm thick then you need to purchase an optional 3mm spacer and use it between the runner and the side of the cabinet. We have these available on our website.
If you’re using a cabinet which is 18mm thick then you don’t need to use a spacer the runners will just mount to the side of the unit.
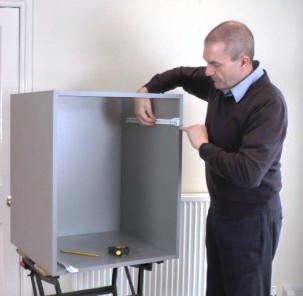
Fix The Runners

Once you have drilled the pilot holes you will be ready to fix the runners into position using three screws on each runner.
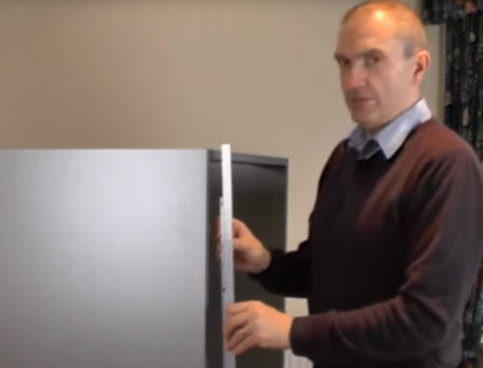
Fitting The Drawer Box
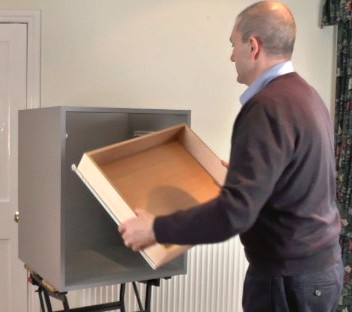
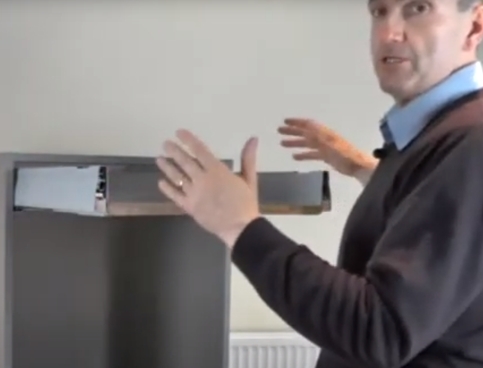
Offer the drawer box up to the cabinet with the wheels facing the cabinet. Pop the wheels over the top of wheels on the runners which are attached to the cabinet and whilst doing so lift up the front of the drawer box so that the wheels run down to the back of the runner.
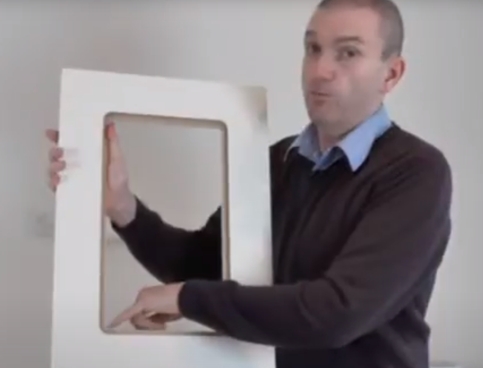
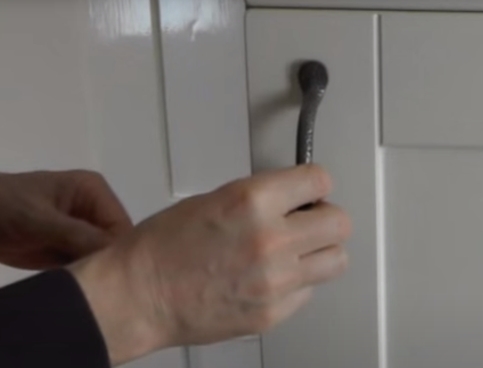
Attaching The Drawer Front To The Drawer Box
Use double sided tape to temporarily attach the drawer front to the drawer box - ensuring first that the drawer font is completely level. Then secure in place by using the handle - fixing right through the drawer front and the drawer box.
If you are using handle less drawer fronts, or if you want an even more secure fixing method, you can screw through the drawer box directly into the drawer front - taking care not to pierce the drawer front.
Common Mistakes People Make When Fitting The Plywood Drawer Boxes
1. Using runner fixing screws which are too fat-so the runner cannot pass the head of the screw
2. Fitting the runners out of level or out of alignment with each other-take care to ensure the runners are level
3. Forgetting to use 3mm spacers if their cabinets are 15mm thick.

4. Not having the right length screw for fixing the handles. You may need an extra long screw to pass though the drawer box and the drawer front. Our handles use a standard M4 (4mm) machine screw, which can be obtained from any good DIY store, alternatively we sell extra long snap off screws on our website which can quickly and easily adjusted to the desired length.
Fitting Drawer Boxes Into New Cabinets
Fitting drawer boxes into existing cabinets is the same as fitting drawer boxes into new cabinets. We often get asked why when you buy new cabinets from Kitchen Door Workshop are they not pre-drilled for the drawer runners. This is because there are so many different combinations, two drawer, three drawer or four drawer, a drawer above a door. Whether they are the plywood drawer boxes or they are soft close drawer boxes
With this in mind what we supply a general purpose cabinet which you can then adapt to suit your own combination of drawer fronts. It takes just a few moments and gives you a very good result.