
How to fit door handles
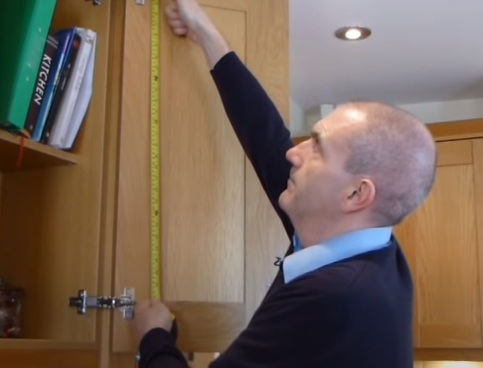
How to measure your doors and drawer fronts

The most common mistakes people make when replacing their kitchen doors
End panels, infill panels and corner posts

How to measure cornice, pelmet and plinth

How to measure sloping doors
How to avoid problems with drawer fronts in tight corners
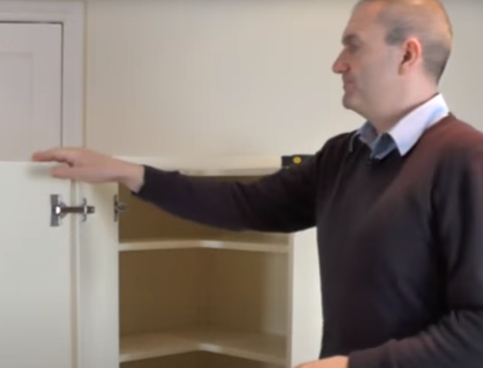
How to replace L shape corner cupboard doors

End display shelf units

How to clean kitchen doors
How to fit kitchen doors

How to replace a dishwasher door

How to fit heat deflectors
How to glaze an open framed door
How to fit door handles
How to adjust kitchen door hinges
How to fit new hinges
How to fit plywood drawer boxes
How to fit soft close drawer boxes
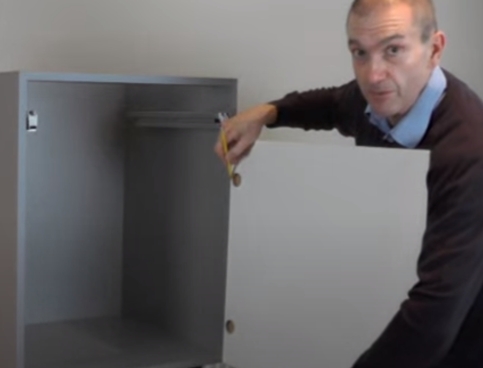
How To Use A Handle Drilling Jig

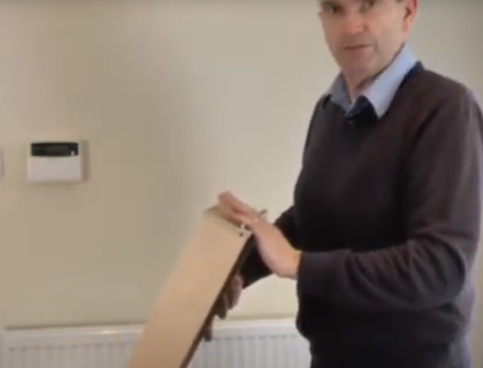
Set up the Handle Hole Drilling Jig to line up with the holes on the handles that you are planning to use.
Hold the handle against the jig so you can see which holes to use. You can see in this instance that the first hole and the fourth hole corresponds with a 96mm hole centre of this particular handle. Then you need to drill out the first and the fourth hole on the jig using a 3mm drill bit.
Decide The Ideal Handle Position
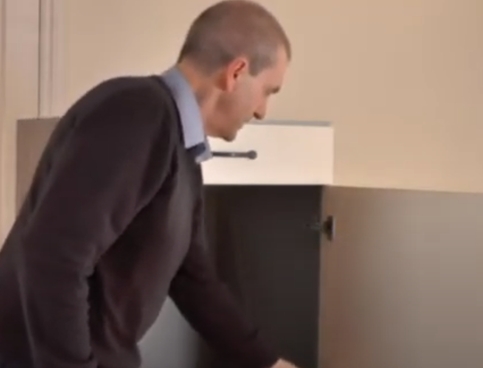
On a base unit door the handle is normally mounted towards the top of the door. If you mount the handle half way down the door, you will be stooping down to open the door and struggling to reach the handle on a wall unit door, so we would suggest on a base unit door, fitting them towards the top and on a wall unit door, fitting them towards the bottom of the door.
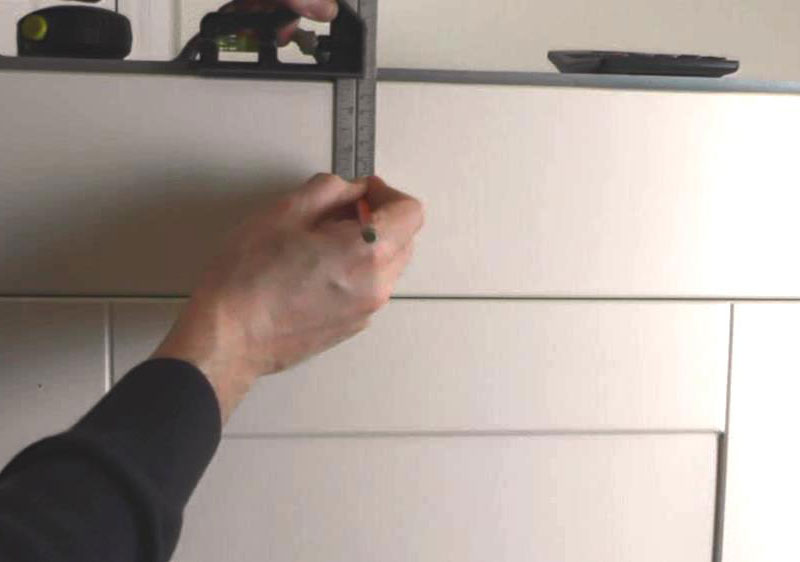
Then Measure The Handle Position
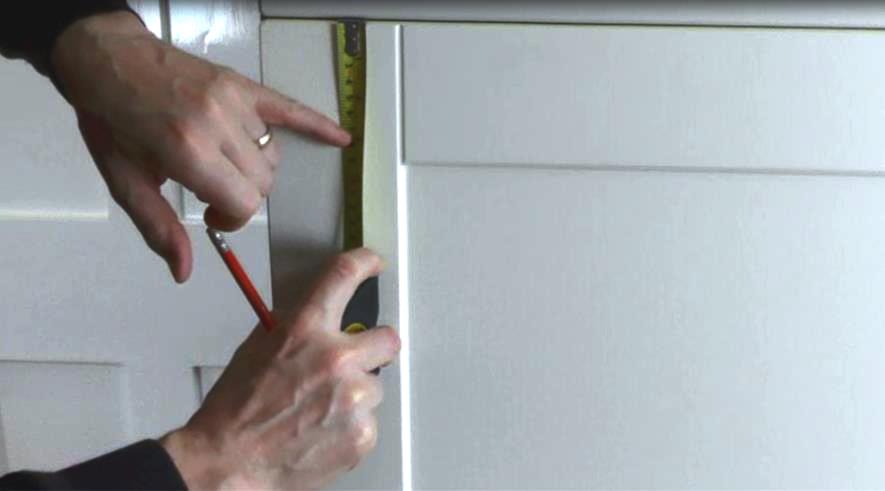
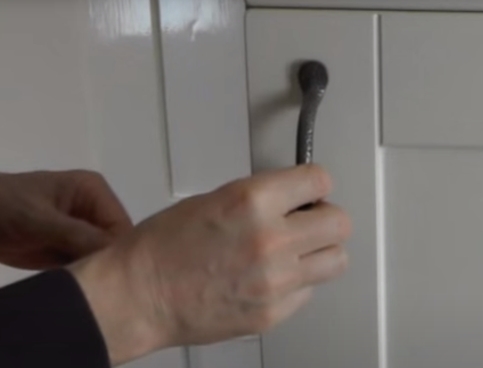
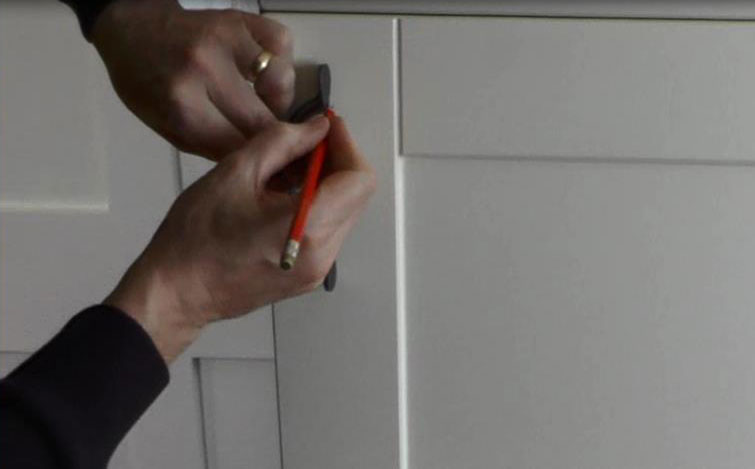
Hold the handle in a position where you think it looks best. Place the handle on its side and with a pencil, draw a line on the door where the top screw hole position is.
Measure from the top of the door (if a base unit door) to the centre of the top hole position. In this example we decided the top hole for our handle would be 55mm from the top of the door.
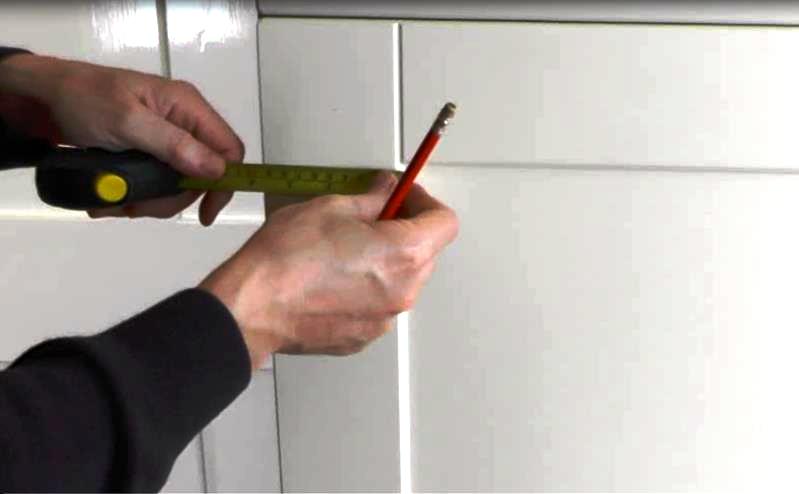
To have the handle mounted centrally on the frame of the door, measure the width of the frame and divide by 2. For example, if a door is 90mm set up the drilling jig to allow you to drill a hole 55mm from the top of the door and half way in the centre of the door frame which is 45mm from the edge of the door.
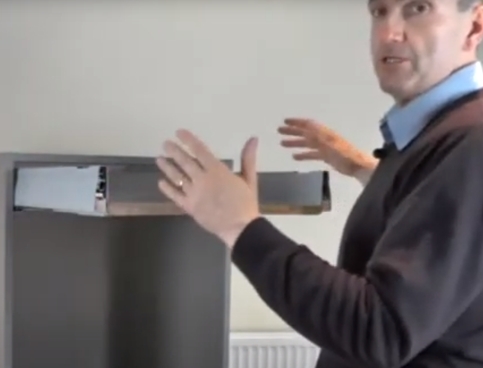
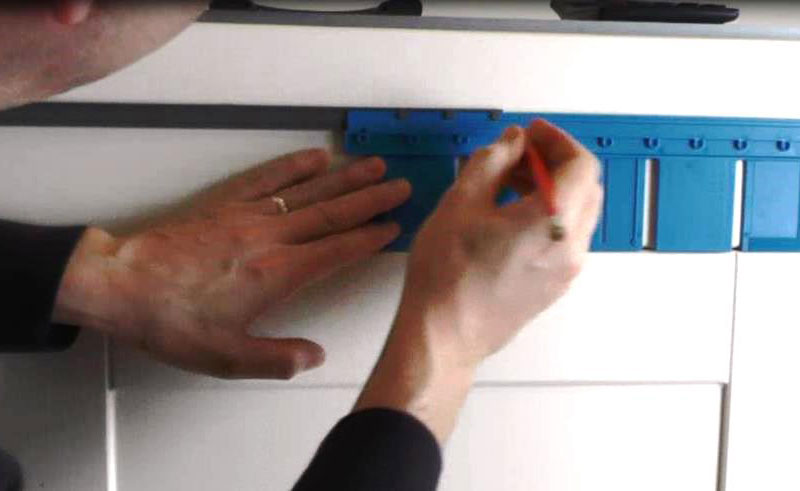
Setting Up The Handle Hole Drilling Jig
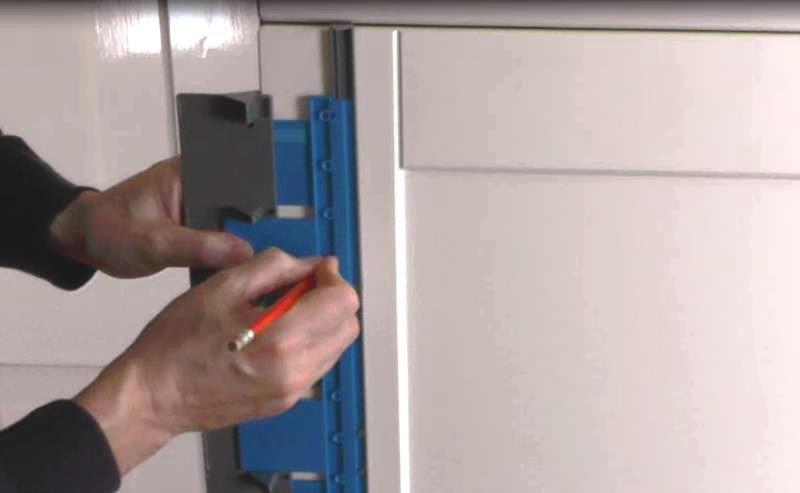
On the Jig you will find there are two adjustable guides which allow you to adjust the distance of the holes form the top and the edge of the door.
Rest the jig against the edge of the door and mark the positions of the holes.
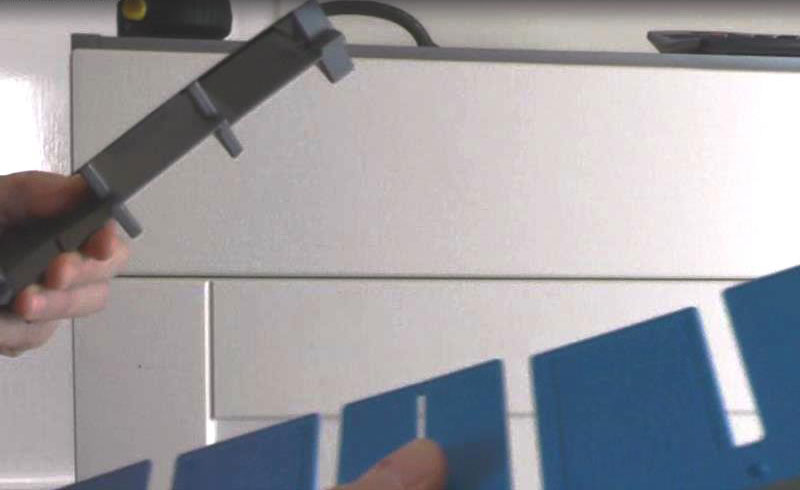
It does take a couple of minutes to set up the Handle Hole Drilling Jig but once it is set up its going to allow you to mark all the other holes on all the doors without having to take any more measurements. To mark a door of the opposite hand, simply turn the jig around. to mark a wall unit door simply flip it over.
Once the jig is set up you can do all the marking of the holes literally in a few minutes saving lots of time.
Marking Holes For Drawers
Fixing the handle on to a drawer front is done in a similar way as doing it on the door. First decide where you want the handle to be; usually we would want the handle half way down from the top of the drawer front and central (right to left).
As an example, if the height of a drawer front is 140mm and the jig only expands to 65mm it’s not going to expand to the 70mm (half of 140mm) that we want for marking the centre line.
What we would do in this case is to brake the jig in to two parts. The reason we would do that is because the jig is very useful for helping to mark the handle position from the edge of the drawer.
Next - using a set square, draw a line, half way down from the top of the drawer front. ie, in the centre of the drawer.
Now we need to calculate how far the first hole is going to be from the edge of the drawer.
Start by measuring the width of the drawer front
As an example assuming the width of the drawer front is 596mm, deduct the width handle centres which we know on this handle example are 96mm, then divide the remainder by 2
596 - 96 % 2 = 250mm
Therefore the first hole wants to be 250mm from the edge of the door.
Set the jig to 250mm and offer it up to the edge of the drawer front, look through the holes in the jig and align them with the centre line that you drew earlier.
Mark the holes - they will be central from the edge and the top of the drawer front.
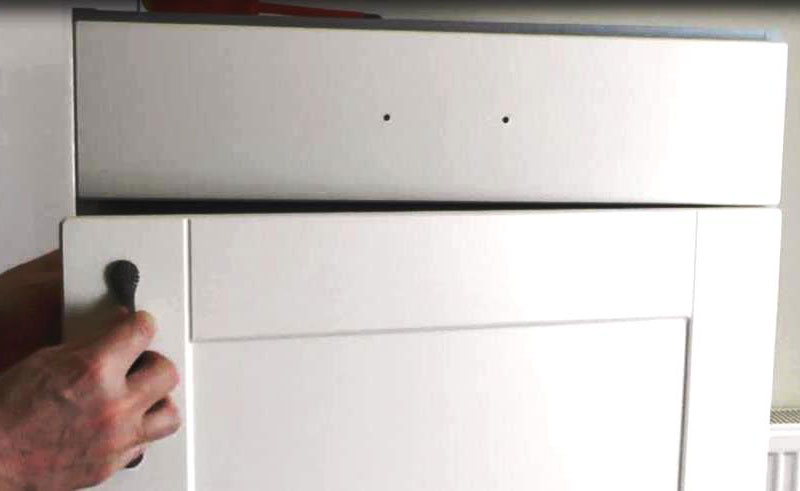
Drilling The Handle Holes
Remembering to wear your safety goggles, drill the hole in the drawer front and in the door with a 5mm diameter drill bit.
Tip - Drill from the front of the door

Always drill from the front through to the back of the door. The reason for this, is that if you drill from the back of the door through to the front, the holes could end up in the wrong position if the drill is even slightly out of level - making fitting the handle impossible.
Another tip is to drill part the way through the door, then open the door and put a little block of wood behind where the drill hole is going to be so when the drill punctures the back of the door it doesn’t damage the surface.
Remove The Pencil Marks
Take a moment to remove any pencil marks off the face of the door before fitting the handle, as its easier to do this before the handle has been fitted.
Getting The Right Length Screw For Your Job

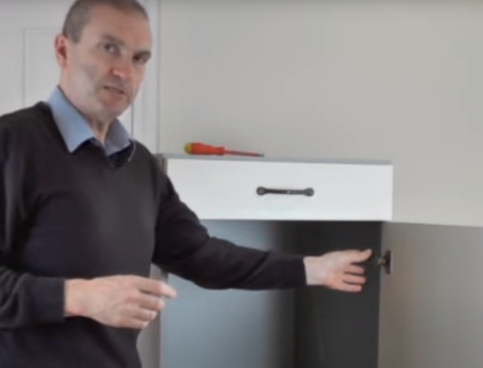
If the handles that you purchased aren’t supplied with screws or if the screws that you have are not the right length Kitchen Door Workshop sell ‘snap off’ screws on our website which can easily be adjusted in length just by snapping to the size that you require.
Fitting The Handle
Open the door and pass the screws from the back to the front and by hand, locate the screws into the handle and simply tighten them with a screwdriver from behind. Its better to tighten them by hand rather than using an electric screwdriver this may damage the head of the screw.
Check that they are level and in the right position. Having the handles level and in the same position so that they line up on every door is the difference between having a job that looks professionally fitted rather than something that is less than good.

Using the Handle Hole Drilling Jig is one way of ensuring a professional finish and it’s a quick and accurate way of getting the handle holes in the right position.