
If you have just spent the the recent Easter weekend wishing you could join the masses and do a spot of DIY on your home, you may be one of those people who think that it is always better to hire in a professional. Despite the best efforts of DIY stores, TV programmes and online tutorials, sometimes DIY seems a little too hard and impossible for many of us. In particular, the kitchen may be seen as the last place you would want to let a family member run free with the drill!
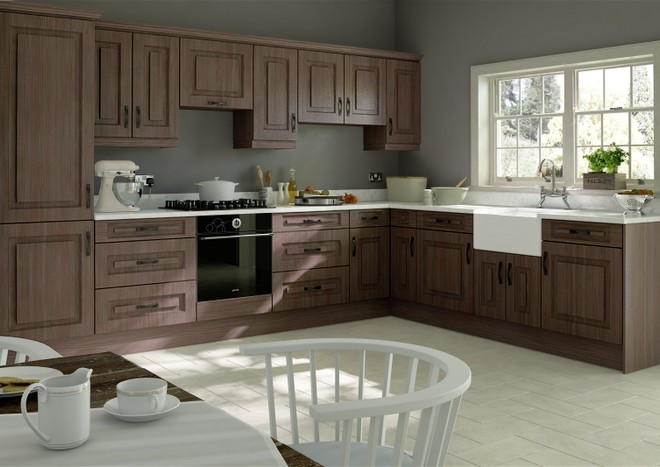
Want to DIY it? Try installing your own Goodwood doors in Avola Grey
If this is the case then you obviously don't know about replacement kitchen cabinet doors. The ease with which you can transform your kitchen becomes obvious once you know how easy it is to simply take off your old doors and replace them with sparkly new ones in the design and colour of your choice. Your kitchen can go from drab and boring to interesting and fresh in just a couple of days and you will be able to do all the work yourself.
The process for replacing your old kitchen doors is really simple. Just follow these few steps, take a look at our online videos and get started.
- Measure all of your kitchen cabinet doors on the insides and note them down. In most cases your doors will be of a standard size, but if not, that is OK. We do bespoke sizes too.
- Decide which doors you want from our online store. You may choose to get some samples sent of the door and the colours so you know your choice is right for your needs.
- Fill in our online form showing your choice of door, the colour and the right sizes. You will also be asked if you want the doors to be pre-drilled for hinges and if you want any extras such as plinths, end panels and handles.
- When your doors arrive (within days in most cases) you can get started with the really fun stuff – the DIY.
- Your first job will be to remove the old doors. A simple drill will achieve this in minutes, but you can even use a manual screwdriver and do it by hand if you wish. Save the hinges (unless you have bought new ones).
- Attach your hinges to your new doors in the correct position. This should still correspond with where your old hinges were – particularly if you are using the old ones as you will have left the cabinet hinge section in place. If the holes are pre-drilled, this part is super easy. Just screw it on.
- Decide where your new handles are going to go. Try a few different options with the handles. The could be placed centrally, to the side, top or bottom. Work our how it will look best based on all your cabinet and drawer sizes and positions.
- Attach your handles by marking the position carefully with a pencil and screwing them in place. Sometimes it makes senses to use an electric drill to do this as it will give a cleaner finish. Use masking tape to prevent the drill from slipping on shiny surfaces.
- Finally, offer up the door to the correct space and slip the door hinge into the cabinet hinge. From this point all you have to do is tighten or loosen the hinge screws until the door sits straight. You will need to do this several times once all the doors are in place to ensure you have even gaps between each door and at the top and bottom. Minor adjustments will be needed, but it is a simple process.
- Now just sit back and admire your DIY skills. You haven't needed to empty your kitchen, hire a tradesman, do any heavy lifting or carrying or ask for help. You should be very proud!
It is obvious that improving your kitchen on your own merits has financial benefits, but never underestimate the importance of simply knowing that you have achieved something which you didn't know you could. Every time you enter your kitchen you will see all your own hard work and will feel an immense sense of pride – perhaps your next DIY job could be replacing your bathroom cabinet doors or those ones on your wardrobe?
For a look at our online DIY tutorial videos click here.