
How to fit new hinges
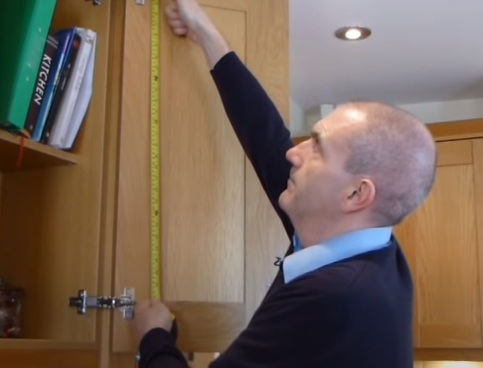
How to measure your doors and drawer fronts

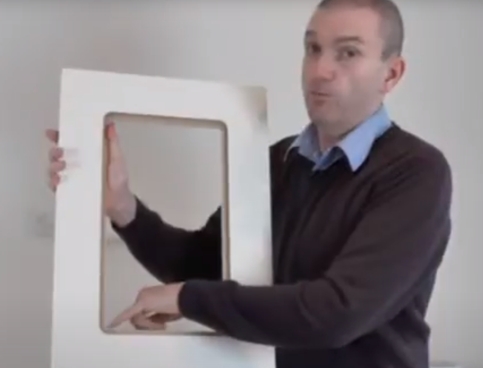
The most common mistakes people make when replacing their kitchen doors
End panels, infill panels and corner posts

How to measure cornice, pelmet and plinth

How to measure sloping doors

How to avoid problems with drawer fronts in tight corners

How to replace L shape corner cupboard doors

End display shelf units

How to clean kitchen doors
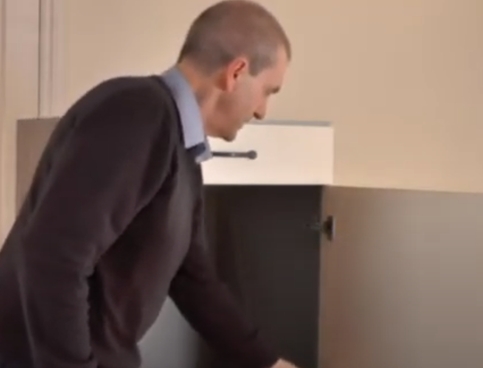
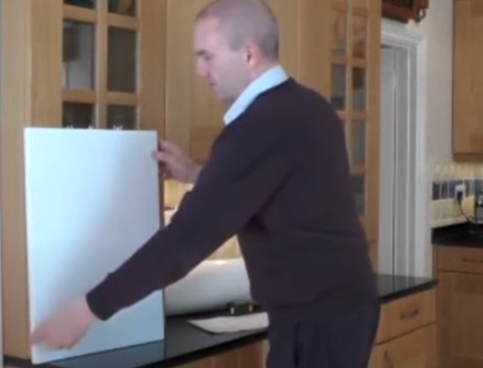
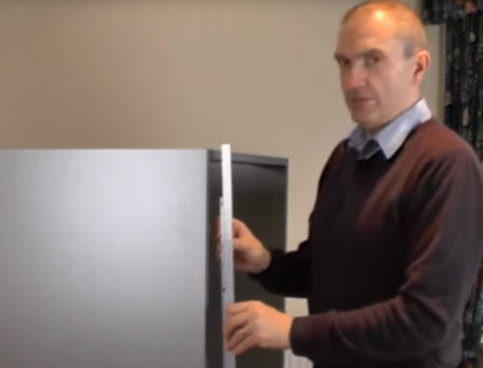
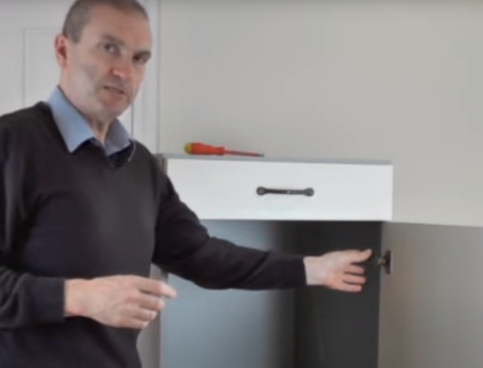
How to fit kitchen doors

How to replace a dishwasher door
How to fit heat deflectors
How to glaze an open framed door
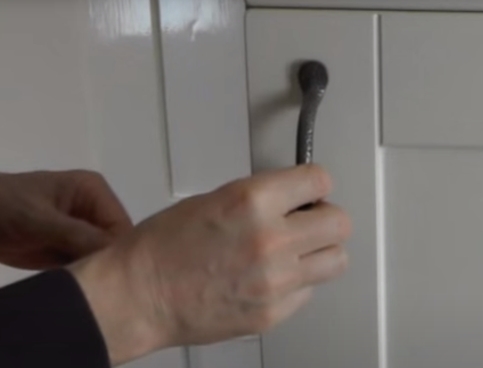
How to fit door handles
How to adjust kitchen door hinges
How to fit new hinges
How to fit plywood drawer boxes
How to fit soft close drawer boxes
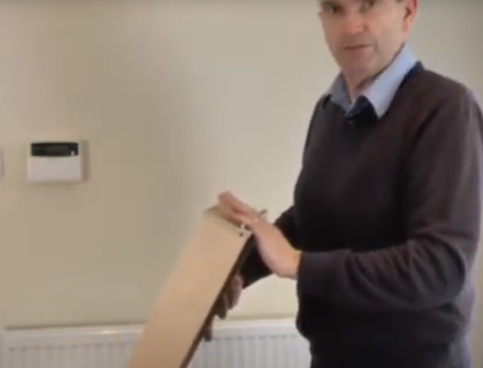
Remove The Old Hinge And Back Plate
The first thing you need to do is to remove the old hinge and the old back plate.
Draw The Centre Line Of The Hinge On the Door

Draw a pencil line from the centre of the hinge hole to the edge of the door - this shows you where the centre of the hinge is and where the hinge backplate will need to be in line with.
Transfer This Line Onto The Cabinet
Offer the door up to the cabinet and holding it in position, transfer this pencil line on to the cabinet itself. To make it easier for you, it might be worth getting someone to help hold the door while you do this. Once the line has been transferred onto the cabinet extend this horizontal line back using a square. This line shows you where the centre of the back plate needs to be.
Then draw a second line, a vertical line 37mm from the front of the unit. This line shows the distance from the front of the unit to where the backplate fixing screws will be.
Remove the two fixing screws from one of the backplates and align the backplate on the cabinet so that you can see the vertical line through the screw holes, whist at the same time ensuring that the backplate is central to the horizontal line that you drew first.
Mark the two fixing holes positions, taking care to ensure that they are at the centre of the backplate screw holes, otherwise you will not have sufficient movement in the backplate should you need to adjust its position later.
Tip - Drilling Pilot Holes
To help ensure that you always drill pilot holes the correct depth, simply hold the screws you plan to use against your drill bit and mark the length of the hole required, using a piece of making tape.
Fix The Backplate
Drill two pilot holes using a 5mm dia drill, then attach the backplate using the Euroscrews provided
Tip - How To Fill or Repair Pilot Holes
Euroscrews are a great way of fixing backplates, but if you need to drill a 5mm dia hole adjacent to another hole, or repair an incorrectly drilled hole, here’s how to do it. Get a length of wooden dowel from your local DIY store. These are normally sold in lengths. Glue a piece of dowel into the offending hole (drilling out the hole to the desired diameter first if required) then glue the dowel into place, leave until the glue has properly dried (overnight is best). Then drill your new hole as required.
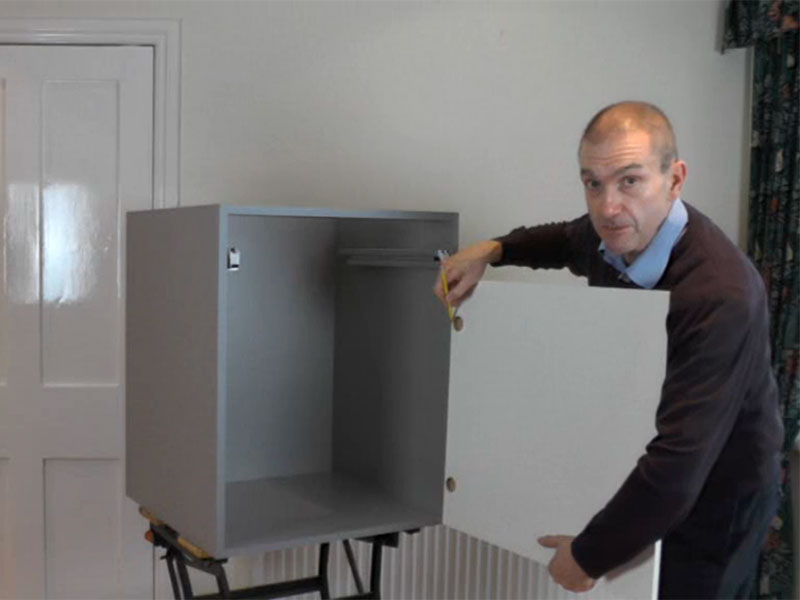
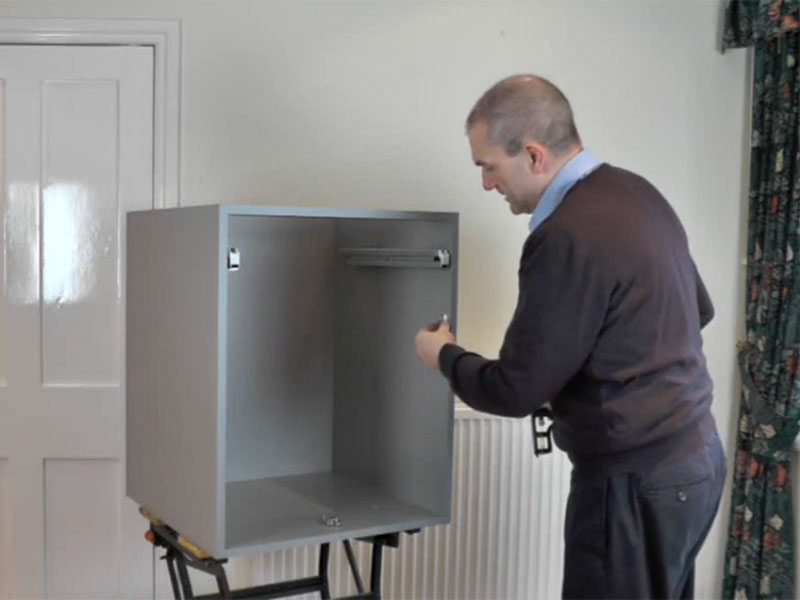
Fix The Hinge Into The Door
Mark and pre-drill the holes and fix the hinge into the door. The hinges are not supplied as standard with screws but Kitchen Door Workshop sell the 3 1⁄2 mm diameter by 15mm long screws on our website. Now pre-drill the pilot hole with a 2mm pilot hole taking care not to drill through the face of the door.
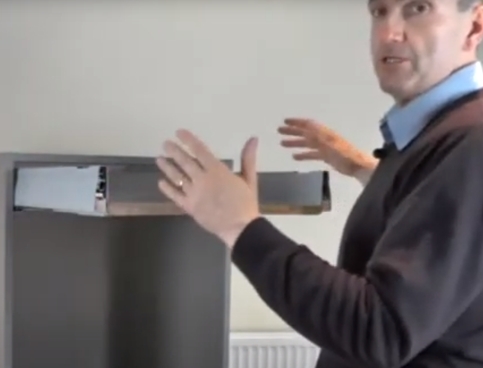
Attaching Your Hinges Onto The Backplates

Before trying to attach the door, check to see exactly how the hinges attach to the backplates.
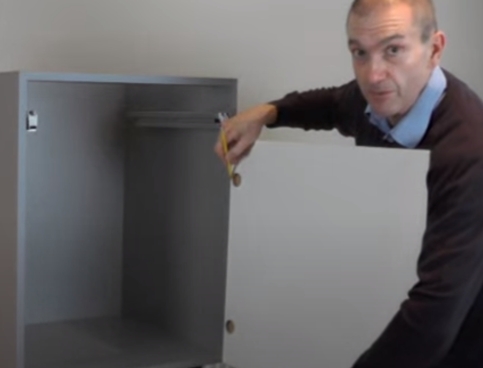
Offer the door up to the cabinet and check that the hinges and the backplates are aligned. If necessary adjust the backplate by loosening the fixing screws and moving it up/down as required.
Attach the top hinge first - followed by the bottom ones. If the door is heavy, get someone to support the weight of the door while you do this.
After connecting the hinge to the hinge backplate it is important to check that the hinge is securely attached, otherwise the hinge may become detached in use.
Once all the doors are attached refer to our guide on adjusting hinges.